Real
Email Account:
Each real email account has its own login ID and password.
Virtual
Email (Email 'alias' Account):
An email 'alias' is an email address that forwards all
emails sent to that address to your existing REAL email
account.
Note:
Virtual Email Accounts are unlimited to you whereas
Real Email Accounts are limited according to the Hosting
Plan you have purchased with Mecca.
To
create email accounts, follow
these steps:
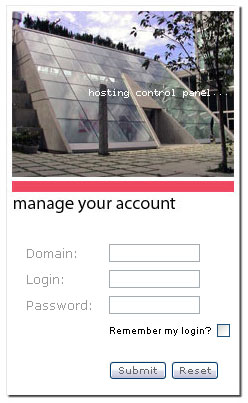
1. Login at the Control
Panel Site.
2.
Once logged in, under Communications
(second row), click on Email
Accounts Management.

3.
To create a new real email account, under the Create
a login ID box, fill in the required login
information and click Add.

4.
If the Login name has NOT been taken,
the email account will be created automatically.
But if the login name HAS BEEN taken,
you will see the below screen.

5. Please then click Go back and you could
do one of two things:
i. Could choose another Login
name and try again until you find one that has not been
taken.
If it works, then you have created a new email account.
Please note that if you wish to change the password
for that email account, simply select Change
under Change Password.
ii. Create a VIRTUAL EMAIL.
In order to create a Virtual Email Account, you must
first create a Real Email Account. So follow Step
3 to create a valid Login ID and then scroll down until
you find the Add an email account
box.
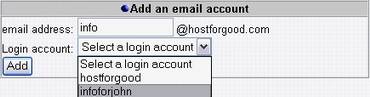
a.
Under email address,
type in your desired email address prefix, (in this
case, info).
b. Under
Login account, choose
which account you want to check the emails in.
By choosing the Login account, you could check the emails
sent to both
info@hostforgood.com and
infoforjohn@hostforgood.com in the same account.
Click Add and you're done!
With
Virtual Emails, you could have as many email aliases
tied to one account. Therefore you could create
sales@hostforgood.com,
support@hostforgood.com, etc.
all under the loginID: infoforjohn.

|